Customising PDF template
This article focuses on highlighting the less intuitive functionalities of the components within the Oxilayer PDF Template Editor:
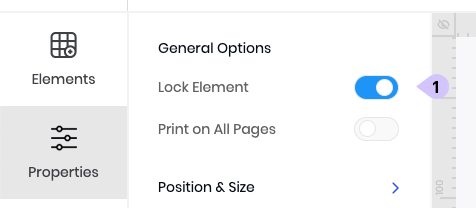
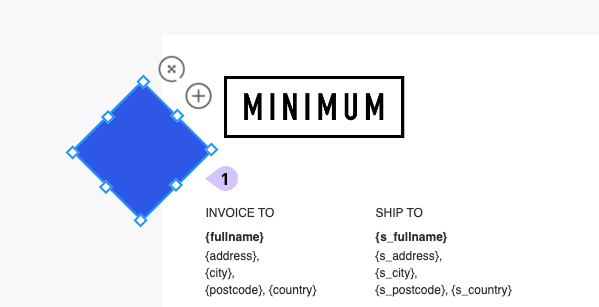
Option: Lock Element
The "Lock Element" option(1) provides the ability to disable the movement, resizing, and deletion of a specific element within the template. When enabled, this mode ensures that the element remains fixed in its position and size, allowing only to edit its content and options. This can be useful when you want to preserve the layout or certain elements of the template.
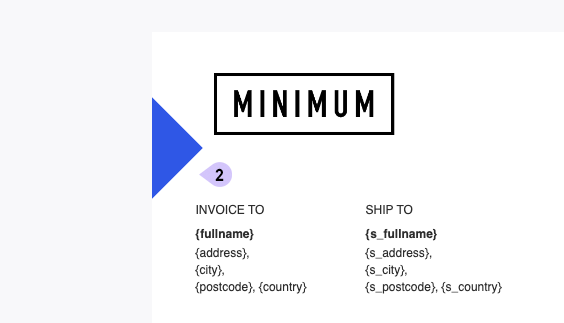
Option: Print on All Pages
The elements, such as text, shape, QR code, barcode, and page number, have an option (1) that allows for automatic duplication of the element on every page at the same position. This feature is commonly used to create PDF headers and footers. By enabling this option, the specified element will be replicated across all pages of the PDF, ensuring that the header or footer content remains the same throughout the document.

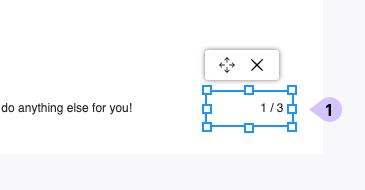
Header & Footer Height
On the second page, any elements that were not printed on the first page due to limited space will start drawing from the end of the header (1). In other words, the height of the header determines the starting point for drawing elements on the next page.
Similarly, the footer height serves as the stopping point for elements. Once the elements reach the footer height, they will be moved to the next page.
- Example 1: If the header height is set to 100px, on the second page, elements that couldn't fit on the first page will begin drawing below the 100px mark.
- Example 2: If the footer height is set to 50px, when elements reach the 50px bottom mark, they will be moved to the next page.
This functionality ensures that elements flow seamlessly between pages while respecting the specified header and footer heights.
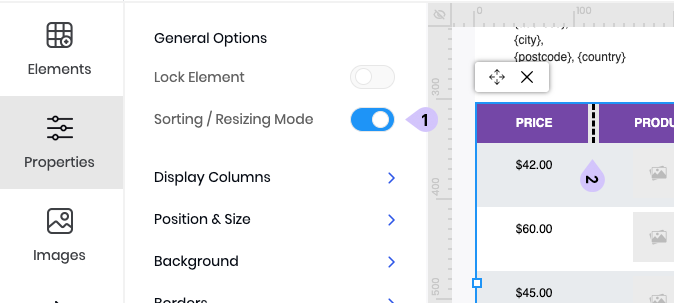
Option: Sorting / Resizing Mode
The tables for order items and tracking items in the app have a convenient option to resize columns or change the position of columns. To enter this mode, simply click on the table and enable the "Sorting / Resizing Mode" option (1).
Once this mode is enabled, the table header will display additional resize and move helpers (2) when you hover your cursor over it. These helpers make it easy to adjust the width of columns or rearrange their positions within the table. This allows you to customize the table layout based on your specific requirements and preferences.
Hide elements if data is not set
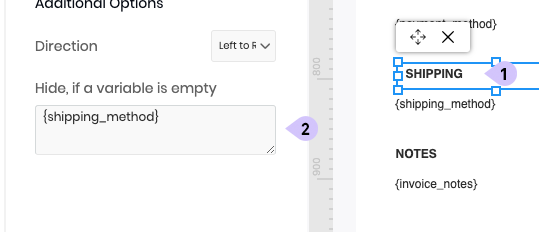
The elements (1) such as text, shape, QR code, and barcode have a "Hide if a variable is empty." (2) field in properties. In this field, you can enter variables, and if those variables are empty, the element will be hidden from the PDF. All available variables can be used in this field.
Here is an example when we can use this option. If we want to have a shipping method in our invoice, however some orders, might not have shipping method, if virtual products were purchased. In that case we would need to hide text element "SHIPPING" which is a label for shipping method.
Here's an example to illustrate the use of this option: Let's say you want to include the shipping method in your invoice. However, for orders that contain virtual products and don't require shipping, the shipping method may be empty. In this case, you can use the "Hide if a variable is empty" (2) option to hide the text element labeled "SHIPPING" (1) when the shipping method variable is empty. This ensures that the shipping information is displayed only when it's available, providing a cleaner and more accurate invoice.
Option: Hide Overflow
You can find the option under the 'Pages' menu. This feature enables you to work with elements that are located outside of the PDF page. Here's an example when it can be useful.
Page No. Format
The default page number format is structured as follows: the first digit represents the current page number, and the second digit indicates the total number of pages.
The page number format can be customized, but it consistently follows the pattern where the first digit indicates the page number, and the second digit represents the total number of pages. Here are some examples of available page number formats:
- 1
- 1 | 3
- Page 1 out of 3
Translate total labels
In our editor, we have placeholders for totals. These placeholders are not actual lines that will be printed on the PDF. Since the total lines may vary depending on order information, we have moved the translation of total labels to the following path:
On this page, you can translate all the possible total labels. Some labels, such as tax or discount, allow the use of variables. For example:
A list of available variables is provided at:
Template Settings
The settings for the template can be found at:
Item Price Settings
- Item Price - In this setting, you can choose the price to be displayed in the price column of the item table.
- Item Subtotal - the same as with item price, you can choose the price to be displayed in the subtotal column of the item table
- Display Discount Amount after Subtotal - If a discount is applied to the order, enabling this option allows you to print the discounted value after each item subtotal.
Page Settings
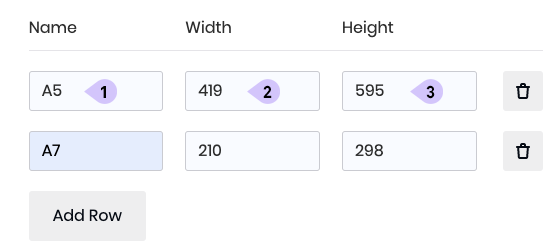
In this section, you can add custom paper sizes, which will be automatically included in the "Pages > Document Settings > Page Size" option.
- Name - Enter a name for the paper size (1). For example, you can use A5 or Letter. The name should consist of alphanumeric characters (A-Z, a-z, 0-9) without any spaces or special characters.
- Width and height - Specify the paper width and height (2, 3). The values should be integer numbers measured in points (pt).
Totals Settings
In this section, you have control over your total lines. Here, you can manage all the available total lines. If certain lines, such as "discount," are not applicable to your order, they will be automatically hidden.
- Total - Specify the name (1) of the total line from the list of available options.
- Sort Order - Assign a sort order (2) to the total line. Use an integer number to determine the position of the line in the ascending order.
- Hide Zero Value - By default, if a line's value is zero, it will be hidden. However, if you want to keep certain lines visible even when their value is zero (e.g., tax line), set this (3) option to "NO."
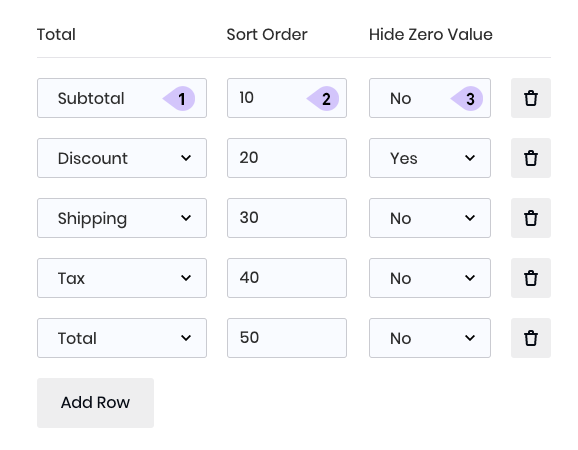
By customizing your total lines, you can manage their visibility, sorting order, and control whether zero-value lines should be displayed or hidden.